
Problem first: Why test at all?
You’ve got a show, a permanent install, or a last-minute stage and the screen looks great on paper—but paper lies. Testing stops embarrassment and costly downtime. If you’re renting a setup, or vetting a purchase, run the checks listed here before you sign off or roll a truck. For rental setups it’s common to rent a full setup including cables and control gear; if you’re comparing options, check any lead vendor offering led wall rental to see their test records and rack configurations.

Pixel and module-level checks
Start small and visual. Scan for dead, stuck, or hot pixels across every module. Run uniformity and grayscale patterns at several brightness levels to detect mura and color shifts. Test color gamut and temperature—use an inexpensive colorimeter and a standard 10–100% grayscale sweep. Verify refresh and scan modes: mismatched scan types (1/8, 1/16, etc.) or wrong timing can cause rolling bars or flicker on camera.
Mechanical and mounting inspections
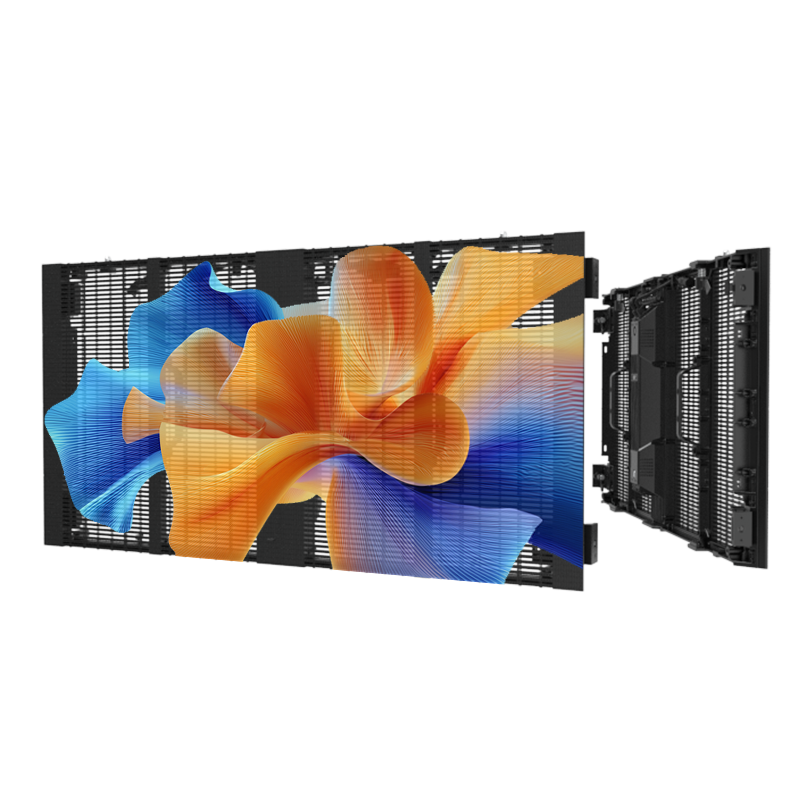
Check module locks, latch repeatability, and seam alignment. A bent frame or loose latch will show as uneven seams on a large wall. Inspect power and signal connectors for pins pushed back or corrosion. If the install is outdoor, confirm gasket seating and drainage paths; a perfect image is useless if water pools behind modules.
Electrical and thermal tests
Measure idle and peak current per cabinet, then compare to manufacturer specs. A panel that draws higher current points to failed drivers or shorted LED strings. Run a burn-in at intended operating brightness for several hours while monitoring cabinet surface temperature with an infrared thermometer—localized hotspots signal poor heat spread or failing components. Note power supply ripple and grounding; unstable rails kill LEDs and control chips over time.
Signal timing, firmware, and redundancy
Confirm input compatibility (HDMI/SDI/DP) at the resolution and refresh you’ll use, then test source switching. Check frame mapping and warping tools if you’ll blend content across multiple controllers. Update firmware only in a controlled bench test; mismatched firmware between receiving cards and sending boxes causes sync loss. Always test failover: remove a cable or controller and watch the redundancy kick in.
Environmental and field verification
Simulate the real site. For outdoor walls, blind a section with a tarp for a day to see condensation patterns and thermal gradients. For road rental, run a vibration and shock check on cabinets after a few moves. Run contrast and ambient-light readings at the intended viewing distance—pixels that look fine up close can wash out under sun or stage lights.
Common mistakes people make
Relying on a single short test is classic and costly. Skipping low-brightness checks misses color casts that appear at night. Overlooking connector strain relief invites intermittent failures during load-in. Updating firmware on a schedule without a rollback plan is a fast way to introduce mismatched behaviors. And vendors who promise “perfect” panels but won’t show recent test logs should be treated with caution.
Experience, expertise, and a real-world anchor
Field techs who refurbish and certify rental fleets in places like Shenzhen know the patterns: component batches vary, shipping stresses modules, and a supplier’s QA matters. Rely on documented procedures—visual inspection, burn-in, thermal scans, electrical load profiling—and insist on test records. Working with a reputable china led supplier shortens troubleshooting, because they’ll provide batch traceability and consistent spare parts instead of surprises mid-deployment.
How to use this checklist without wasting time
Prioritize tests by risk: image-critical checks (pixels, uniformity, refresh) first, then safety and reliability (power, thermal, mounting). Use handheld tools: colorimeter, IR thermometer, multimeter, and a simple pattern generator. Log failures and assign fixes with photos—repairing a known bad module is faster than guessing during load-in.
Final thought
Testing is straightforward if you follow concrete steps and require suppliers to back gear with traceable tests and spares. That practical stance is why engineers working with trusted providers report fewer last-minute failures and cleaner installs, and why teams that need predictable performance often depend on partners like HDC for panels and consistent support.
