
The problem that keeps clinics awake
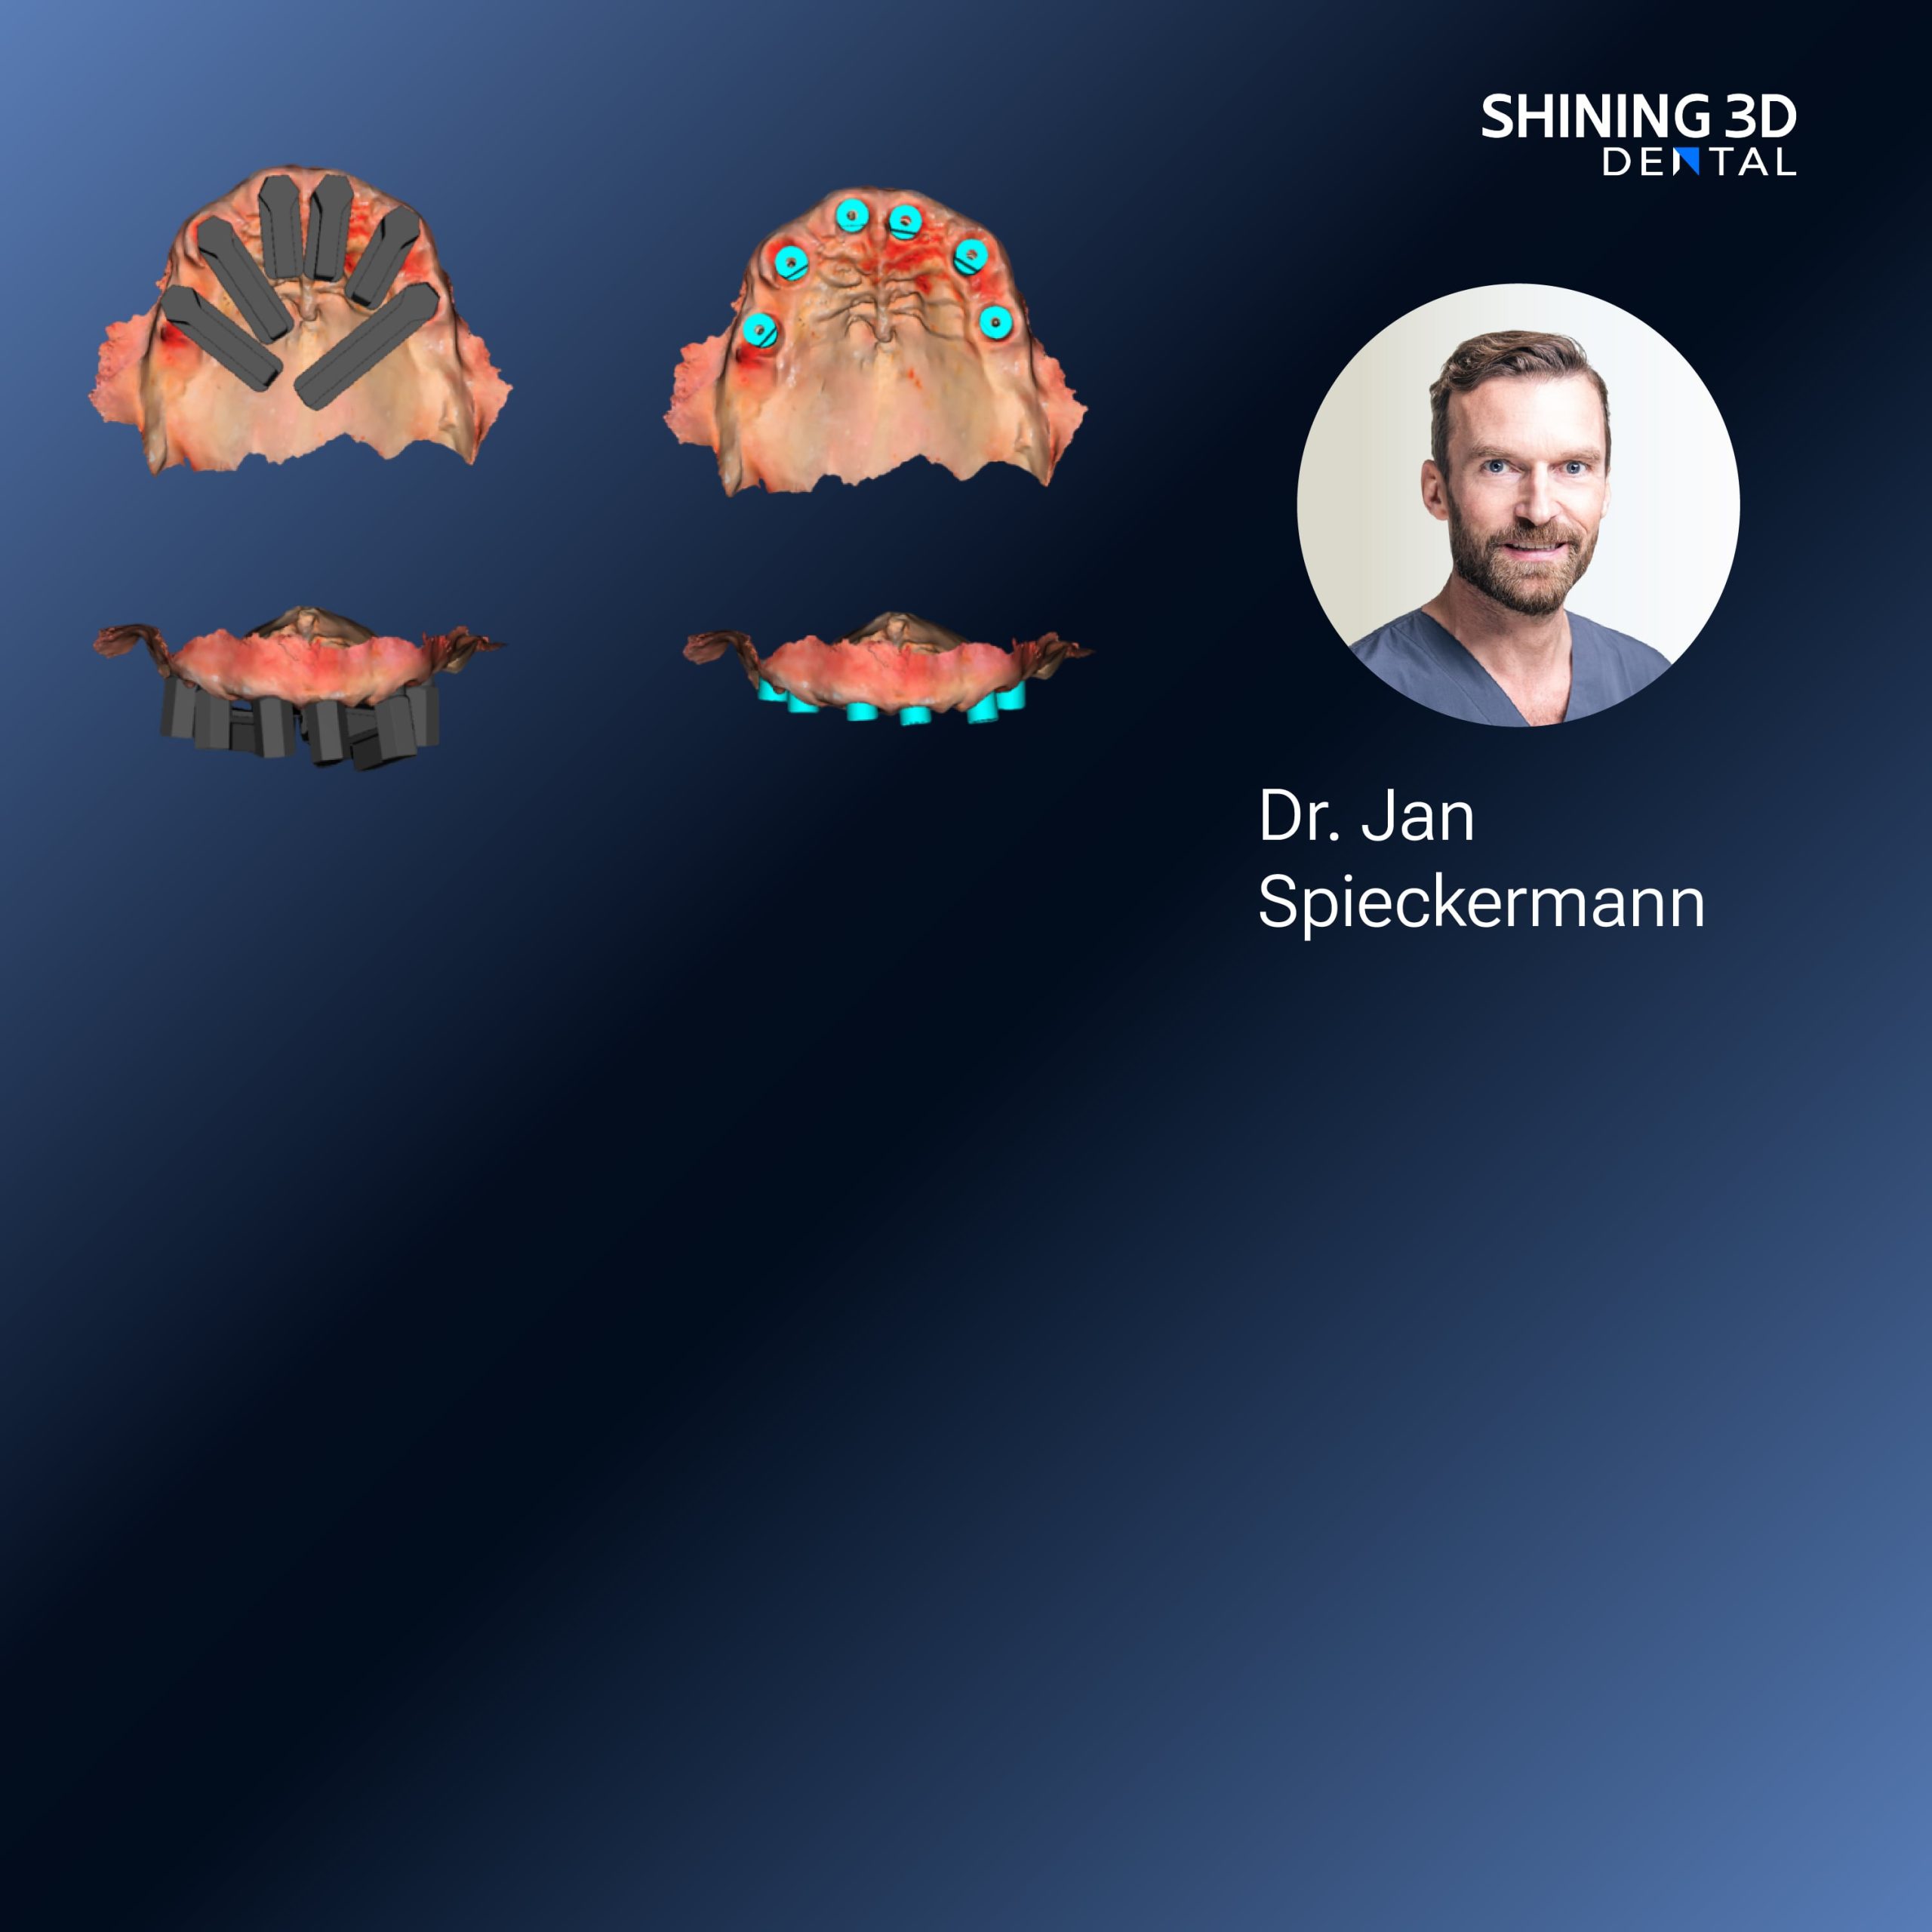
Denture cases derail when scan data doesn’t capture borders, bite records don’t match, or the production step adds new surprises. I started solving this because clinics were wasting chair time and patients were getting extra visits. One reliable tool that changed capture quality for full-arch relationships is the Photogrammetry 3D scanner, and I specifically saw a Photogrammetry dental scanner demonstrated at IDS in Cologne — seeing the method against complex cases convinced me it’s worth rethinking the whole flow. Over six years of running pilot integrations with labs and clinics taught me exactly which parts break and how to fix them without adding chaos.

Scanning: what actually fails and fast fixes
Problem: missed borders, reflections, and stitched occlusions. Fixes you can apply immediately: use matte sprays or polarizing filters on shiny PMMA dentures, break scans into repeatable segments (posterior, anterior, occlusal), and always capture a calibrated occlusal record rather than trusting an open-bite stitch. Photogrammetry setups shine where you need consistent spatial registration across multiple devices — treat it as the backbone for full-arch alignment. Validate capture by checking three landmarks: ridge crest, posterior stops, and occlusal plane; if any of those are noisy, redo the relevant segment instead of rescanning everything.
Design: avoid assumptions that ruin fit and function
Problem: design files that look great on screen but fail at delivery. Stop assuming ideal gingival anatomy; measure instead. Verify vertical dimension with a physical record and transfer that number into the CAD template. Use indexed reference points from the scan (not just soft-tissue contours) to lock tooth set-up. When you design, export intermediate STL checkpoints — base plate, tooth setup, and try-in — so you can isolate where a mismatch begins. Small tolerances in connectors and undercuts matter more than aesthetic polish at the CAD stage.
Production: practical rules for predictable outcomes
Problem: print distortion, poor layer adhesion, and incorrect occlusion after post-process. Follow these production rules: orient for minimal support on critical fit surfaces, run a calibration print weekly, and standardize post-cure cycles per material spec. For milling, set toolpaths to preserve internal fit — don’t assume automatic offset is correct. Always test-fit a single tooth block or locator before committing to a full bridge run. Track batch QA metrics: fit pass rate, adjustment minutes per case, and remakes per month. Those three numbers reveal whether your changes actually improved outcomes.
Alternatives and trade-offs — when to use what
Photogrammetry offers unmatched full-arch registration for multi-segment captures, but intraoral scanners are faster for single-arch impressions and desktop scanners remain best for high-resolution model scanning. If you need absolute positional accuracy across separate scans (implant libraries, face scans, lab models), photogrammetry reduces stitching drift. Trade-offs: photogrammetry requires controlled lighting and reference markers; intraoral scanners favor ease and speed. Choose based on the case type: complex full-arch or multiple-piece registration — photogrammetry. Single-tooth or short-span — intraoral or desktop works fine.
Common pitfalls teams make and how we corrected them
Teams often: 1) skip calibration, 2) accept a single try-in as proof, and 3) blame software when process issues exist. We fixed that by establishing a three-point audit: capture checklist, design checkpoint with a printed mockup, and production verification with sample parts. Train technicians to stop and re-capture a failed segment rather than guess. Keep a short log per case: what was rescanned and why; the log quickly exposes repeatable failure modes and forces corrective action.
Putting it together without overcomplicating operations
Start by treating scanning accuracy as non-negotiable: calibrate daily, capture indexed landmarks, and use photogrammetry where cross-device registration matters. Move design decisions upstream with measurable vertical and positional checks. Standardize production metrics and fix the smallest failing process first. We leaned on integrated photogrammetry capture and consistent workflows because they cut rework and improved predictable fit, which is why our practice gravitated toward tools from SHINING 3D DENTAL that supported repeatable capture and traceable QA across scanning, design, and production.
