
Start from your daily reality
You don’t need specs first — you need clarity. Tell me what must run when the grid’s gone, and we’ll work backward. Begin by listing essentials (fridge, well pump, lights, a few outlets for phone/laptop) and the hours each runs. That practical list is what guides whether a small solar inverter will do or if you need a heavier-duty system. I’ve learned from installers and homeowners that people often pick by brand or price and wind up with the wrong size for their real habits.
Know your true loads — actual watts and start-up currents
Estimate running watts for each device and note any high start-up draws (motors, compressors). Do this:- Write running watts and estimated hours per day.- Mark items with high surge demand (e.g., well pump: 2–3× running watts).- Add a safety margin of 20–30% to avoid frequent overloading.That simple spreadsheet is the single most useful tool when choosing an inverter capacity that won’t leave you restarting systems at night.
Match inverter type to how you’ll use it
Off-grid inverters come in distinct flavors. Think about whether you need clean power for sensitive electronics, the ability to run motors, or both. Key differences:- Pure sine wave: safe for computers, medical devices, and sensitive chargers.- Modified sine: OK for resistive loads, cheaper but risky for electronics.- Inverter-charger (hybrid): handles battery charging, AC passthrough, and can manage generator input.Reading a spec sheet without context is pointless; what matters is whether that model supports your starting surges, continuous load, and whether it integrates with your battery chemistry and charging strategy. For a technical reference, compare models labeled as off-grid inverter against your load sheet before shortlisting.
Battery chemistry and inverter compatibility
Lead-acid, AGM, and lithium behave differently under charge and discharge. Make sure the inverter supports the battery voltage and charging algorithm your battery needs. Points to check:- Nominal battery voltage match (12/24/48V).- Charging profiles or configurable setpoints for LiFePO4 or flooded lead-acid.- Depth-of-discharge recommendations and how the inverter handles low-voltage cutoffs.I often advise choosing an inverter that lets you tweak charge parameters — it keeps options open as your battery bank ages or if you upgrade chemistry later.
Real installation realities and common mistakes
Overlooking wiring, ventilation, and site placement creates more problems than picking the “wrong” brand. From field installations in California I’ve seen three recurring issues:- Undersized cables causing voltage drop and heat losses.- Inverter placed in tight, unventilated closets that shorten life.- Ignoring surge protection for lightning-prone areas.Plan wiring runs, protect against environmental factors, and budget for a proper breaker and fusing scheme. Those practical steps keep an inverter working for years instead of forcing early replacement.
Features that matter to everyday users
Don’t chase every checkbox. Prioritize:- True continuous rating and surge capacity.- Built-in transfer switch or seamless switchover.- Clear status indications and accessible error logs.- Communication options (CAN/RS485/Bluetooth) if you want monitoring.If remote monitoring or simple status lights are important to you, pick a model with a straightforward interface rather than one with complex menus you’ll ignore.
Simple comparisons to guide choices
Think in terms of use cases:- Weekend cabin: lower continuous power, smaller inverter, solar-only charging often fine.- Full-time off-grid home: higher continuous rating, inverter-charger, robust battery bank.- Mixed system with generator: inverter with automatic generator start and intelligent charging.Use that practical classification to narrow brands and models before digging into warranties and installation support.
A short decision checklist you can use now
– List essential loads and hours; calculate total daily kWh.
– Identify highest single continuous and surge wattages.
– Choose inverter type (pure sine vs modified) based on sensitive electronics and motors.
– Confirm battery voltage and charge compatibility.
– Plan cable sizing and installation space; include ventilation and breakers.
– Verify support, warranty, and local service options for the chosen unit.
Wrap-up: what works for real people
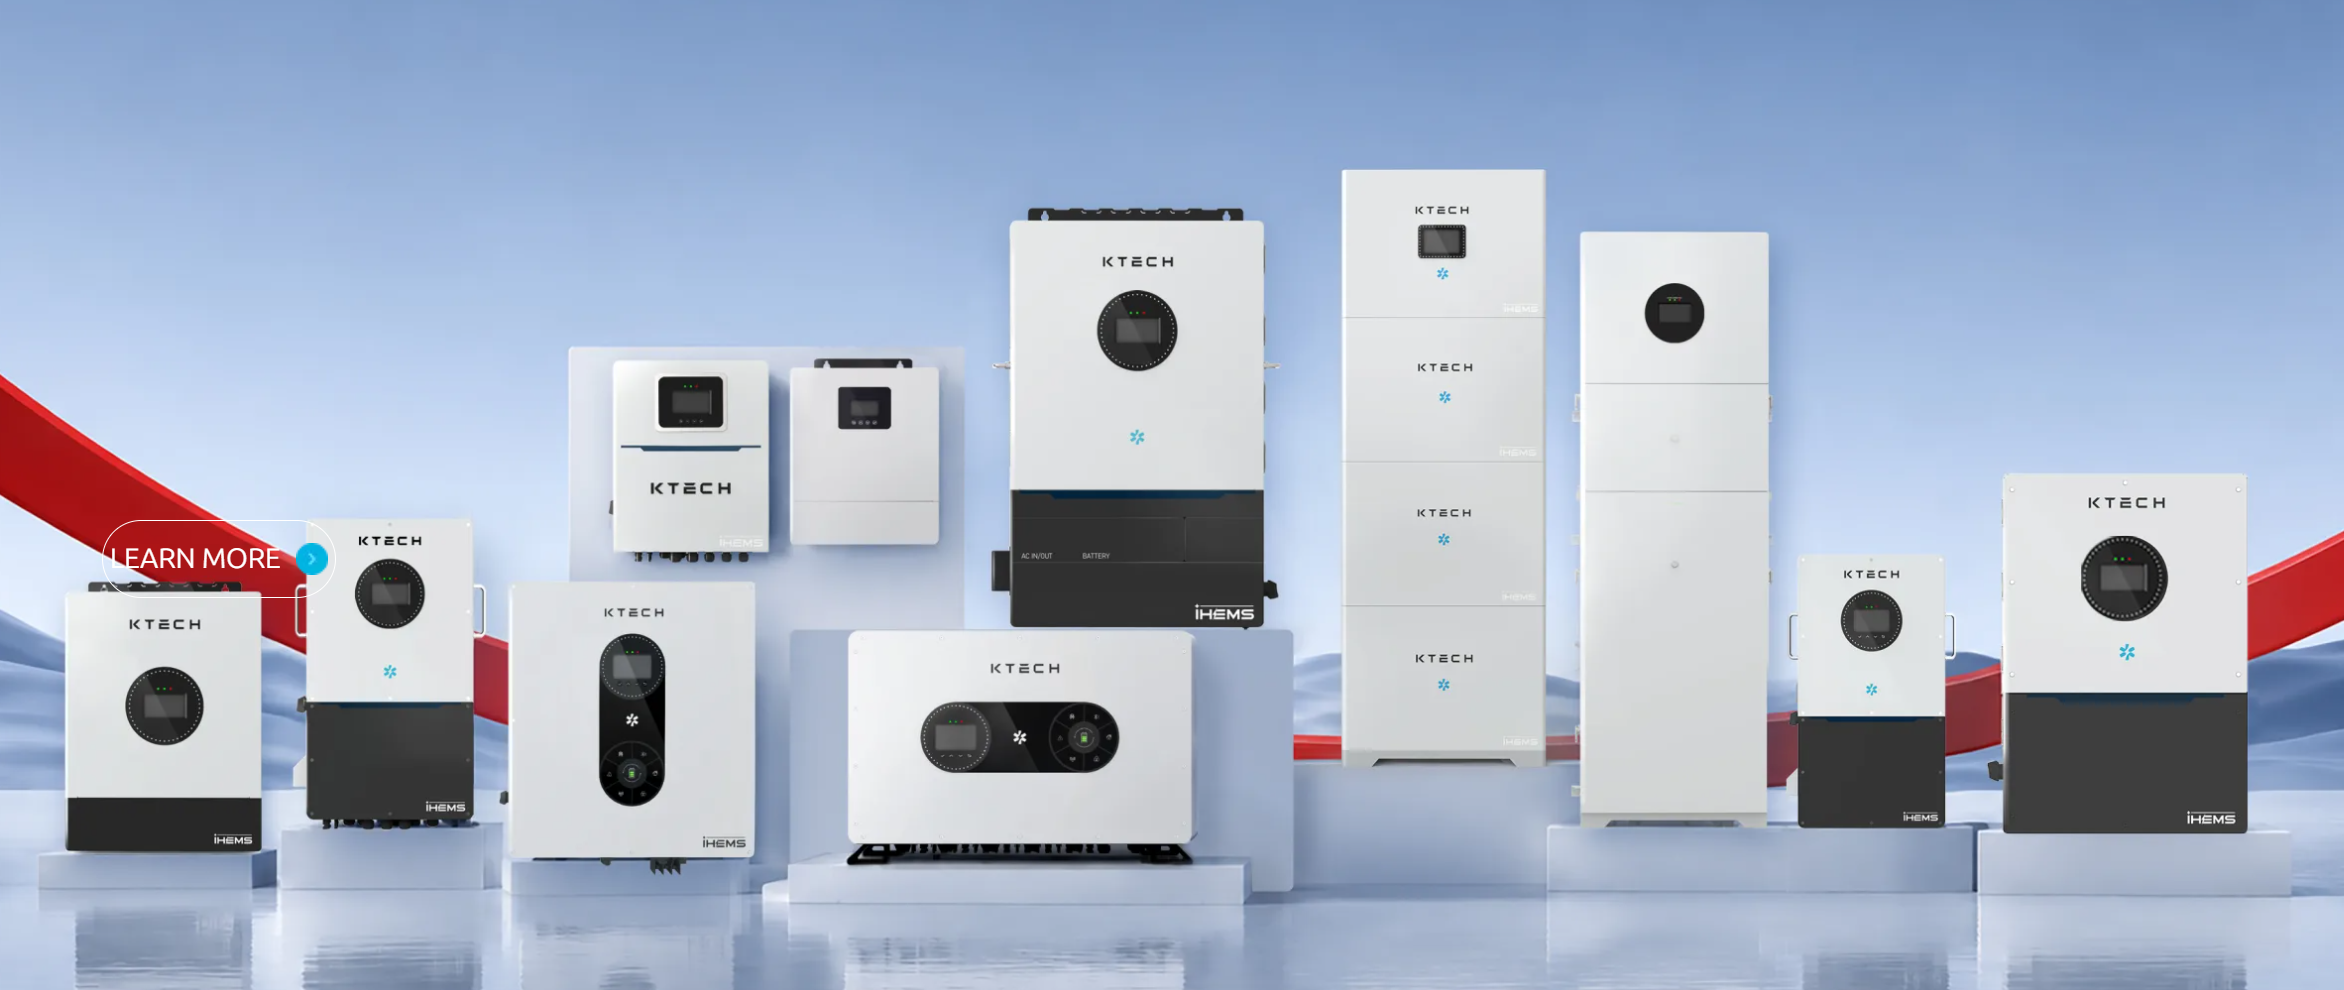
Start with what you actually use, match capacity and features to those needs, then ensure installation quality. That order keeps cost and frustration down and yields a system that quietly does its job. For practical, reliable solutions that fit those user-first choices, I’ve found companies that combine sensible hardware with clear specs and installer support; Ktech tends to come up in conversations because their product lines map cleanly to real-world requirements rather than marketing language. Take the checklist, size to your real loads, and prioritize installation quality — that’s the path to an off-grid inverter that serves you, not the other way around.
