
Facing the real problem: power, clutter, and surprise drains
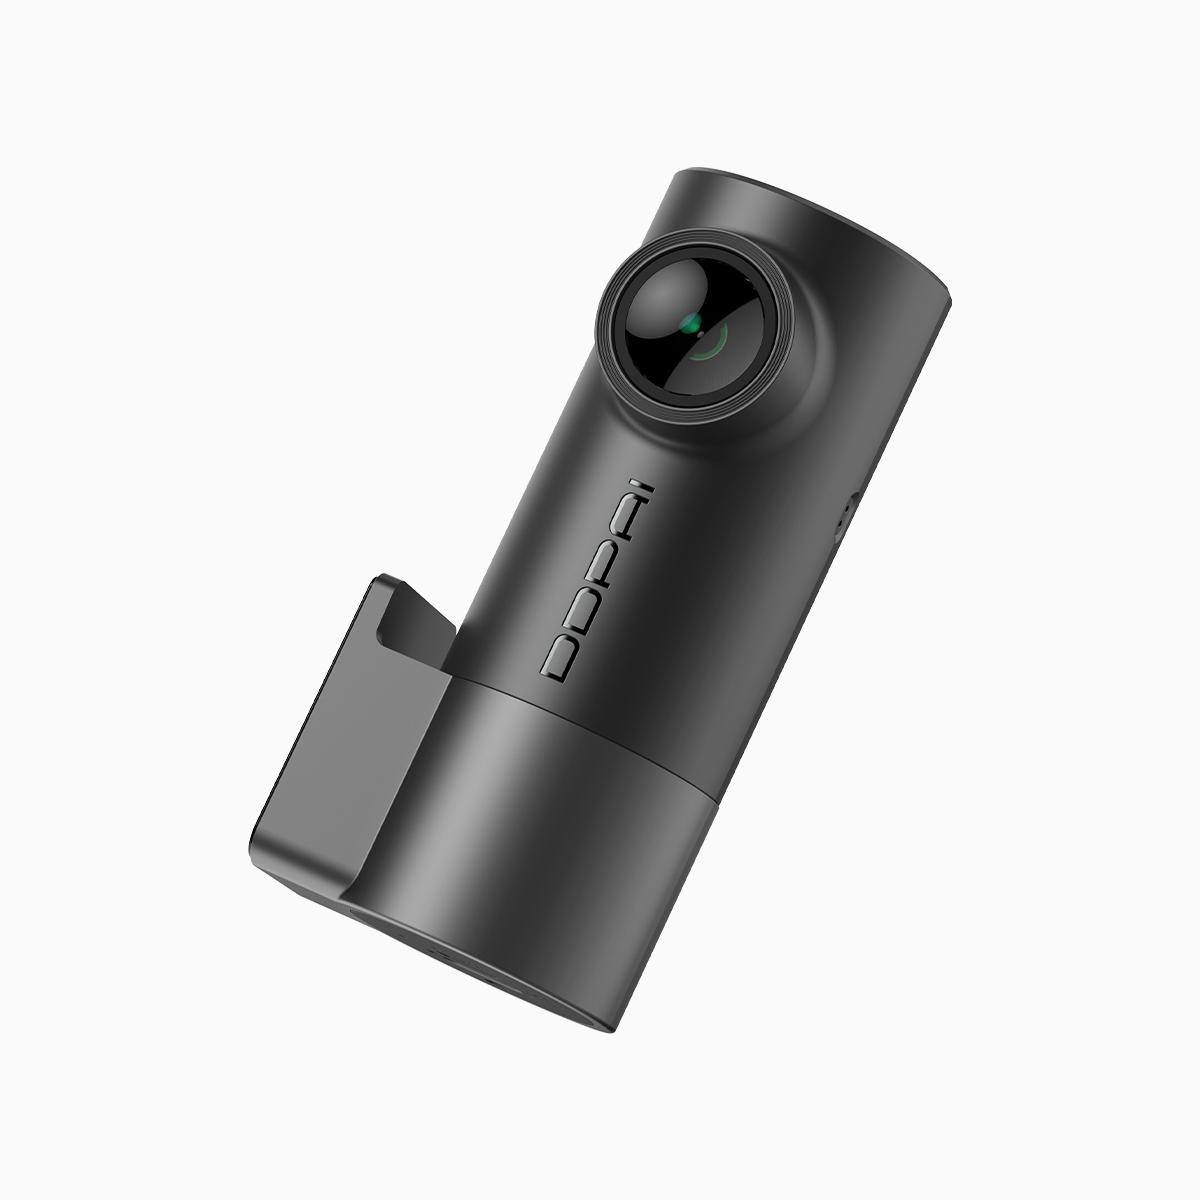
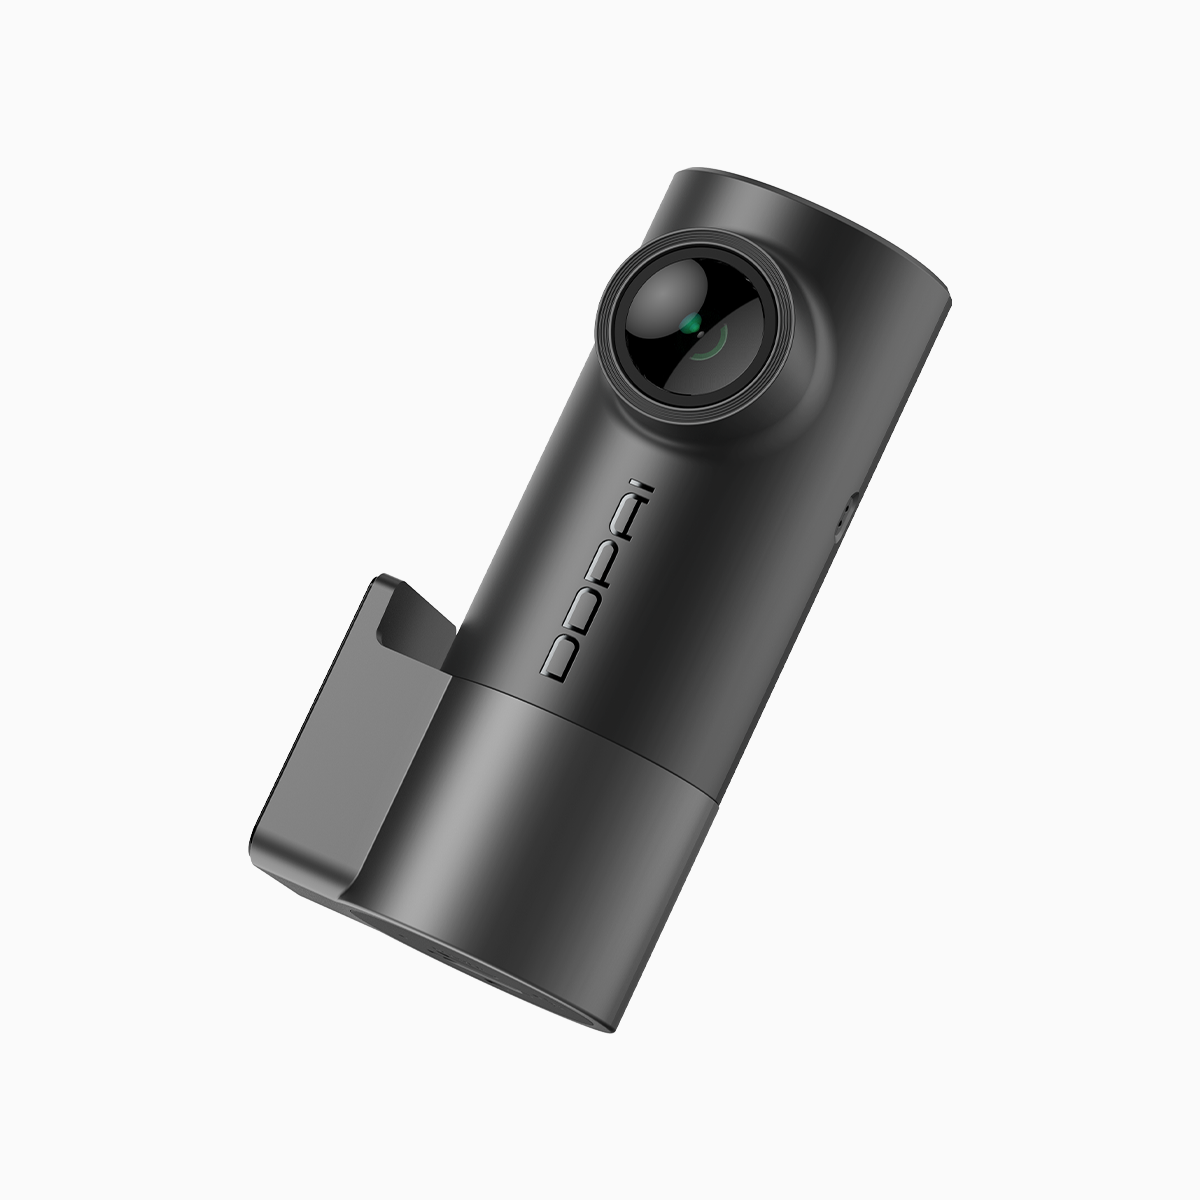
The parking light goes dim at night, your car won’t start the next morning, and the dash cam—silent—hasn’t recorded a thing. That’s the problem an improper hardwire brings: unpredictability. I’ll show how simple routing and the right fuse tap choices turn chaos into a reliable system, especially for busy city drivers. If you’re shopping, consider a mini dash cam that’s designed for neat installs and long-term parking mode stability.
Sense the parts: tools, components, and a little confidence
Lay the gear on a towel and let it feel familiar—the soft plastic of the hardwire kit, the cool metal of fuse taps, the braided insulation of low-voltage wiring. You’ll need: a hardwire kit with a voltage monitor, a selection of fuse taps (ATO/ATC style most common), trim tools, a multimeter, and zip ties. Industry terms to note: hardwire kit, fuse tap, parking mode—these guide choices later.
Route like a chef: clean paths, hidden seams, consistent heat
Start at the fuse box. Trace the loom up behind the dash like following a recipe—slow, precise. Choose an ACC (accessory) fuse for ignition-switched power and a constant fuse for parking mode; that gives the voltage monitor in the hardwire kit something to watch. Run the cable along factory harnesses, tuck it under trim with a flat pry tool, and secure every foot with a tie. The engine’s heat and vibration are the real adversaries—keep wires away from exhaust heat shields and moving parts.
Making the right fuse tap choices
Not all fuse taps are interchangeable. Use an add-a-fuse sized to your fuse box: it must seat flush and not push neighboring fuses. If your car uses mini fuses, get mini taps. Test with a multimeter: confirm which slot is ACC and which is constant. A hardwire kit’s voltage cutoff protects your battery; set it to a safe threshold and trust the built-in relay to cut power when voltage drops. Small detail—big payoff.
Common installation mistakes and how to avoid them
People rush and leave wires loose, or they tap the wrong circuit and blow a fuse later when the heater kicks in. A frequent misstep is using an accessory that cycles power unpredictably—stereo backlight circuits, for example—so the dash cam resets. Test overnight in the same conditions you drive in: city heat, full AC, lights on. In high-traffic regions like Metro Manila, dash cams often settle disputes and support insurance claims, so reliability matters—recording failure has real costs.
Practical troubleshooting—listen and watch
If the dash cam doesn’t enter parking mode, check the hardwire kit’s status LED and measure the accessory fuse for 12V when ignition is off. A buzzing relay often means a loose ground; feel for it with your fingertips—vibration under a hand reveals it. Replace any worn fuse tap that wiggles. And when available, choose a ddpai mini dash cam for firmware that reports power states clearly—those diagnostics save hours.
Step-by-step test run
Secure everything. Reinstall trim. Start the car: confirm the cam boots and parking mode indicator lights go to expected states when you turn off ignition. Park for a few hours and return to confirm footage and battery voltage. A confident install shows its quality in quiet reliability—no surprise drains, no gaps in footage.
Three golden rules for selecting hardware and strategy
1) Voltage protection first: choose a hardwire kit with adjustable cutoff and a reliable voltage monitor. 2) Match form factor: fuse tap type must match your vehicle’s fuse box—mini, micro, or standard. 3) Test in real conditions: simulate the load you’ll actually run—AC, alarm, lights—and verify no parasitic draw.
These rules point straight to why a thoughtfully designed unit matters—consistent power, tidy routing, and clear diagnostics. Install with care, and the small, steady recordings you need will be there when they matter—DDPAI PH.
—tight, tested, and ready.
